About Me

Florence, Arizona
Welcome to my blog. I am newly retired and eager to enjoy it all - decorating, shopping, cooking, travel and most crafts - paper crafts, stained glass, mosaic, mixed media, sketching, painting - you name it, I want to try it.
Powered by Blogger.
Showing posts with label Christmas. Show all posts

Wednesday, July 4, 2012

Christmas in July

For the first time EVER I have made something for Christmas in July.... Usually it's November or so.  Of course, the fact that I'm now not working has a lot to do with it!  I used a Kaisercraft advent calendar box.  The center paper is Graphic 45's Christmas pad from last year; I also popped up part of the picture to give it dimension.  The remaining paper is a little of this and a little of that.  I used Tim Holtz stain and stickles for coloring the dates.  These are soooo much fun to make.  I want to try a blue, silver and white one next - love those colors for Christmas.


Tuesday, December 21, 2010

MY FAVORITE PRESENT

Last present done! woo-hoo. Baking and cleaning tomorrow and airport run the next day! I decided to make my son a sort of "memory book" for his Christmas present. I bought a nice leather binder and made these dividers. I've been writing things down - family lore, memories, etc. and will print it up, put in the binder, and give to him for Christmas. I think it's a special present that he will love. The best part is I can keep adding to it as time goes on.
I kept the divider pages fairly simple and masculine, with the exception of this one, of course.  I decided that on this divider (since I'm talking about dishes, etc.) that I would add a little bit of "mom" to it.  Thus, the coffee cup colored with my copics.  Nothing spells "mom" more than my stamps and copics!

Saturday, December 18, 2010

Silver Trays - Times Two!

OK, I admit it.  Add altering silver trays to my list of addiction.  I picked these two trays up at a thrift store last weekend.  I made them for part of my DILs' presents for Christmas.  I think these are just silverplated trays and they didn't have the "vintage" look I was going for.  I tried rubbing some black patina around the edges - the patina was left over from my stained glass days - and it gave me the older look I was going for. 
Used more gorgeous Graphic 45 and Bo Bunny paper (I have a hard time covering up this paper - it is just too cute), TH's rosettes, prima flowers and leaves, nestabilities dies, and stuff from my stash pile.   The reindeer are from JOTS.


Monday, December 13, 2010

GIFT CARD HOLDER

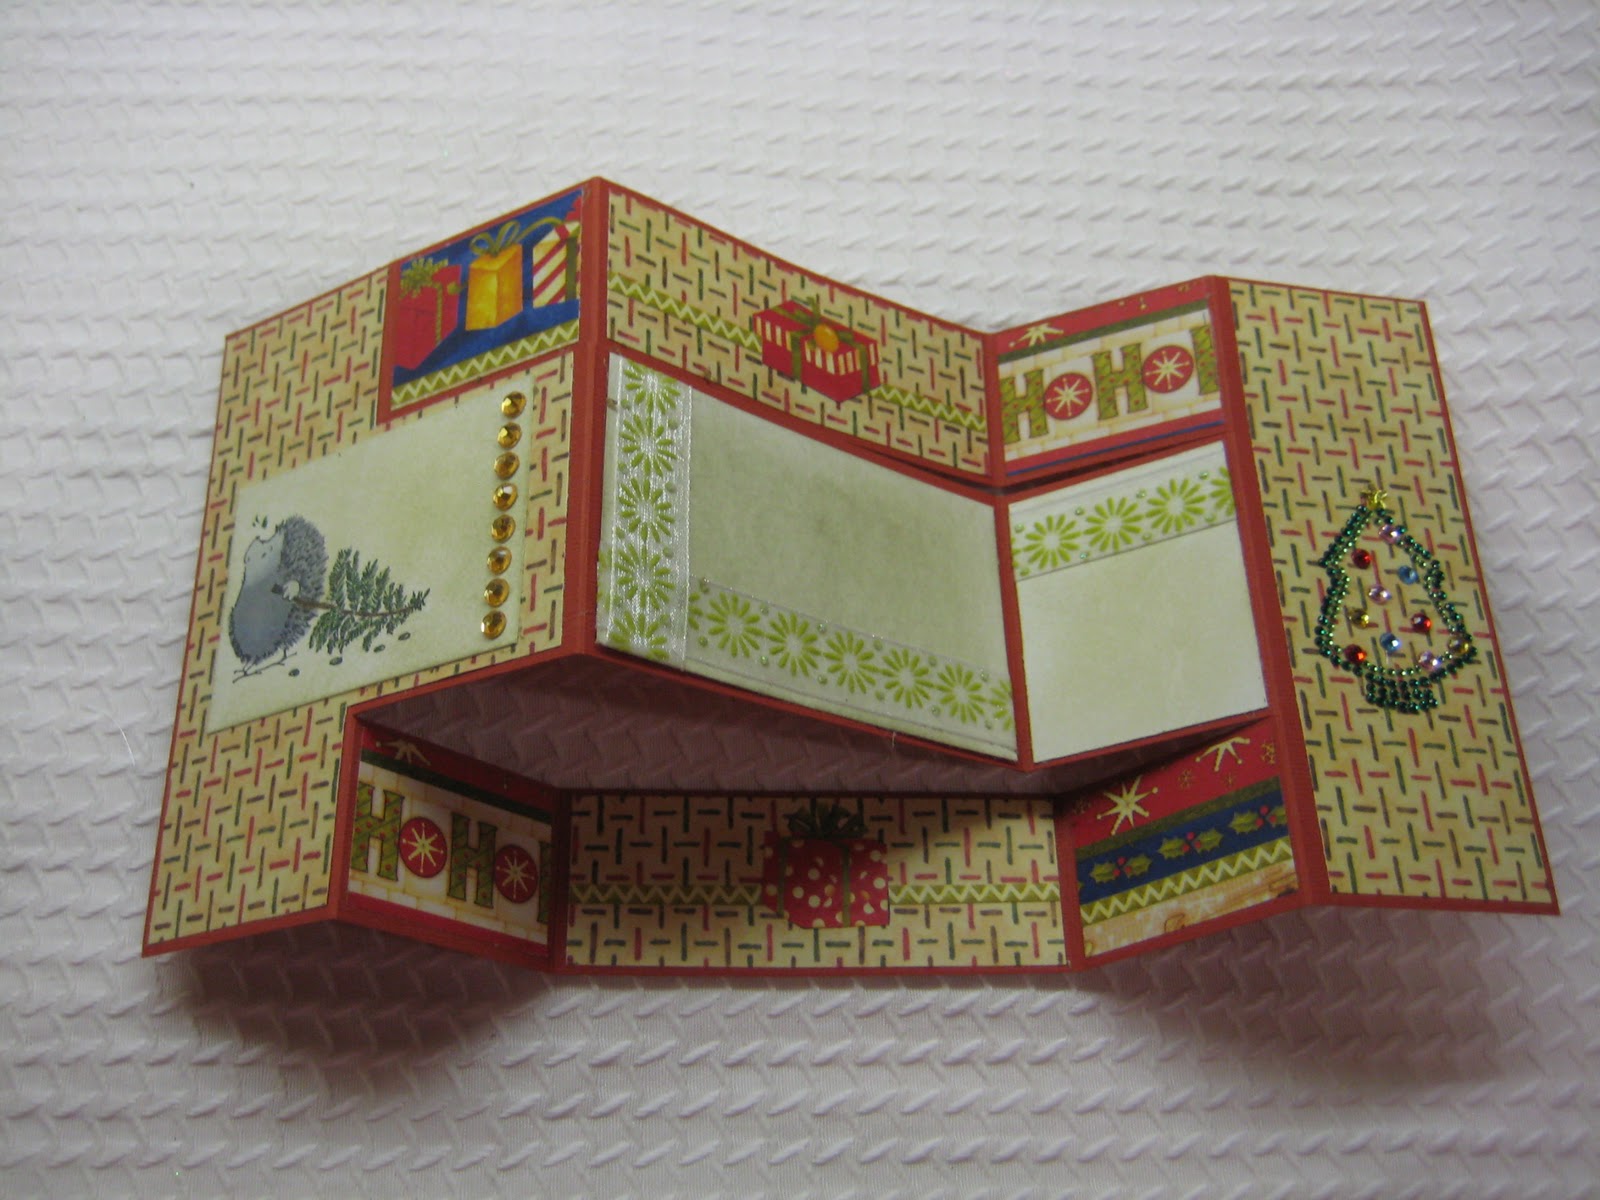
I'm not sure how much I like giving gift cards for presents, but with 3 grown kids it turns out to be the best option!  I decided to make some cute little card holders.  I basically started with the idea of an envelope and blinged it up.  I took pictures as I made it, so you can see the steps.
First of all the finished project:


Envelope with card slipping inside:


To make this, I used double-sided paper so the inside would be finished looking.  The paper used is Iron Orchid Designs from Creative Imaginations

The paper size was 8 1/4 x 5.  I scored 1/2" in on both of the long sides, and used my ATG to glue down.  I scored 5 3/4" from the bottom of the paper, creased well with my bone folder and then ran the ATG down the sides on the piece to be folded up, as close to the outside edge as possible (to give more room on the inside of the holder). 

I folded the top of the card like this:
and then glued it down, also with my ATG.
One more score line to fold the top over and it's done. 

To bling it up a little, I inked the edges, put green sticky crystals on the seam of the top inside, and used ribbon from my stash to keep it closed.  The bling design on the front of the holder is from
 Basic Gray.


Wednesday, December 8, 2010

One present down....


and how many more Christmas presents to make?  Oh, I don't think I want to know.  I've got a HUGE project planned for my son - I'll share another time.  Here's a frame I made for a dear friend.  (I got the frame at M's for $1).  I colored the Tildas with copics, made the rosettes, and grabbed the rest from my stash.   The flowers are the cutest little primas!  I love the color of paint I had - it looks very copper-y/rich.
The paper is wonderful Graphic 45 Christmas past, and if  you look closely I've got some Tim Holtz tissue tape on it.

Tuesday, December 7, 2010

Tags

I think tags are one of my most favorite things!! Love tags.
 Frosty kisses was cut and shadowed from the Cricut Winter Woodland carts; the blue background was run thru my cuttlebug.

This tag was cut and shadowed from the Cricut cart A Child's Year - everything on that cart is just so sweet.

House Mouse Christmas Card


A buddy of mine sent me this cute little House Mouse stamp (thank you Lisa!!) and it makes just the cutest card.  I colored with my copics, used prima flowers and wreaths from my stash.  I inked around the inside of the card with an Ink Dot.  Seasons Greetings was cut from the Cricut cart Winter Woodland.

Gruffies Christmas Card


I just love these little guys.  This was colored with copics; the blingy tree on the right is from Basic Grey.  There is lace from my stash, and the remainder of the embellishments are just cut from leftover Christmas paper.

Tilda Christmas Card

More Christmas Cards!


On this card, I used a MS punch for the snowflakes and silver smooch on the poinsettias Tilda is holding.  I'm afraid the silvery smooch doesn't show up well on the picture.  This was my first time using Smooch and I love it.  It is a sharp silver that really stands out.  The remainder of the card was colored with copics.

Christmas Cards

Finally, I've been able to start on my Christmas cards.  Well, I only have one done, but that's a start, right?

I used the wonderful Graphic 45 Christmas Past paper for the front of the card.  I kept it fairly simple because the paper is so pretty.  I made the rosette and it has a button in the middle of it.