About Me

Florence, Arizona
Welcome to my blog. I am newly retired and eager to enjoy it all - decorating, shopping, cooking, travel and most crafts - paper crafts, stained glass, mosaic, mixed media, sketching, painting - you name it, I want to try it.
Powered by Blogger.
Showing posts with label altered book. Show all posts

Wednesday, January 5, 2011

BABY ALBUM

OK, be patient with me!!  This will be lots of pics ... My niece is having a baby girl - TODAY - I got up to a message that she is in labor and about ready to deliver.  And I just finished her book yesterday!  She is the sweetest person in the world and has had such a hard time carrying a pregnancy to full term, so this new little baby girl is sooooo loved already! 
For this album, I took a book of nursery rhymes and altered it.  I left the cover as it was cuz I liked it.  I tore out quite a few pages, then glued some together.  I ran a line of glue with my hot glue gun, then folded the two pages together - this helps the book stay together.  Then I bunched up about 10 pages and put them together by gluing one of the pages that I had torn out back on the pages -- very hard to explain, really easy to do -- hopefully the pics will explain!


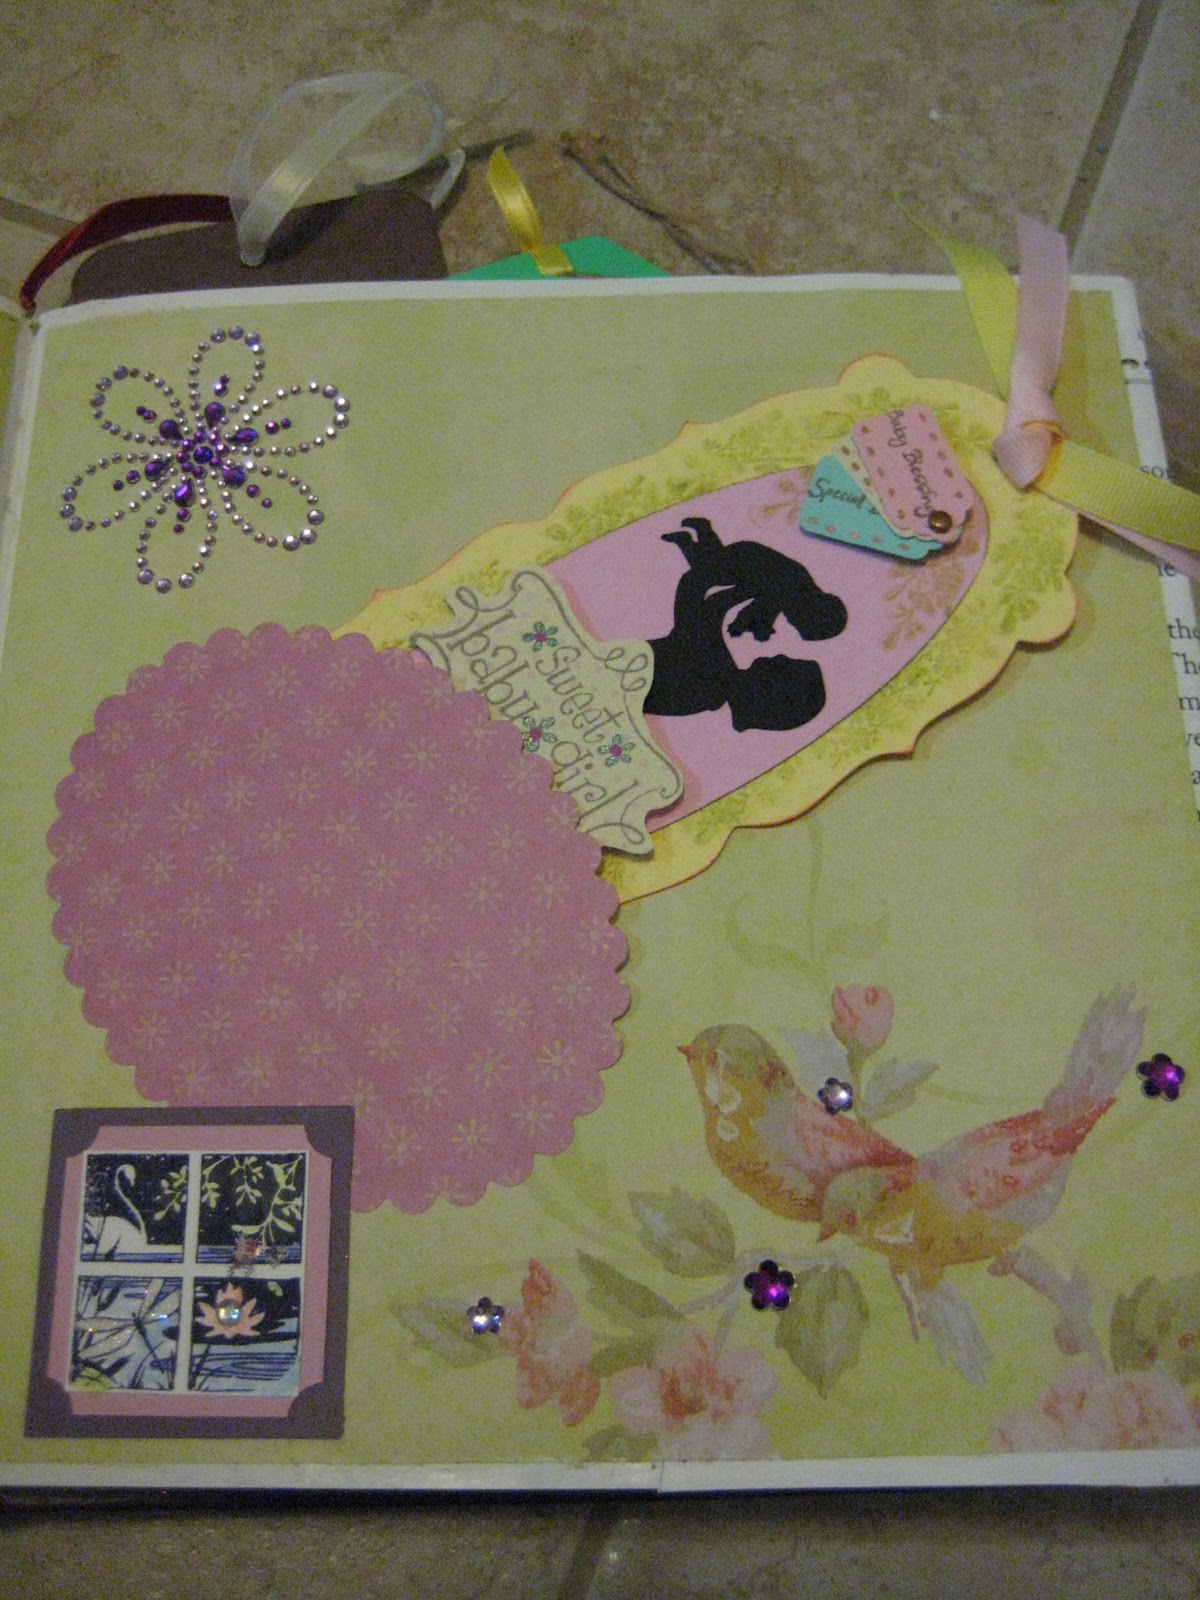
This phrase was cut from the Heritage cart, and of course stickled!!


I love tags and use them wherever possible.  I made some of these, and some I received in swaps.

Oval scallop cut with nestability die
Birdhouse cut from SYI, rosette cut with TH rosette die


Both picture mats were edged with MS punches; prima butterflies


The butterfly borders cut from Paper Pups and stickled!

baby prima flowers!


Monday, December 6, 2010

GIBBS 5

My box to my partner in the Cricut GIBBS 5 swap has reached her, so I can now post some of her goodies.
Phew - this is a long post!  Be patient with me!


Rosette - another TH die; the title was printed from my computer, and the snowflake punch is MS.

It's very hard to explain this technique.  I'm making another one for my niece's new baby (due to arrive any day!) and I will take pictures as I put it together - it will be easier that way.  In the meantime, I'll try to explain.  I tore out a page, then gathered 5-6 pages still in the book together and glued them together by taking the torn out page and pasting over the edges of the 5-6 pages.  I used Yes Paste and it worked wonderfully. 

I printed out the poem "Twas the Night Before Christmas" and mounted it on paper with torn edges.  The reindeer were cut on my Cricut with the Joys of the Season cart.

The remainder of the poem printed out - on torn paper.  The flowers and leaves are prima.

I used stickers from my stash for this page; I also machine stitched in a zig zag pattern around the picture boxes.

"Tis the Season" stamped on the bottom.  Snowflakes were punch from a MS punch.

I loved this vintage looking paper and just didn't want to cover it up.  I used a pre-made rosette from my stach and cut the scalloped circle with a nestabilities die run thru my cuttlebug.

These boxes were decorated with scrap ribbon.  I also put red dots around the sides of all the squares.
This is another sheet of paper that I didn't want to cover too much.  The ribbon is from WM and I love it - delicate and very pretty.

Embellishment from my stash, and edges inked and layered paper.

This page has a pocket for various Christmas tags.  The purple block is punched with a MS stamp.

This is just a really pretty piece of paper decorated with "falala" which was purchased at Michael's last year.

Another page that I left pretty much the way it was.  The scallop cut from the nestabilities die run thru my cuttlebug again, and the sparkly green circle frame is from Making Memories.